
MODEL INSTRUCTIONS
Nano SIM + Bluetooth kit instructions
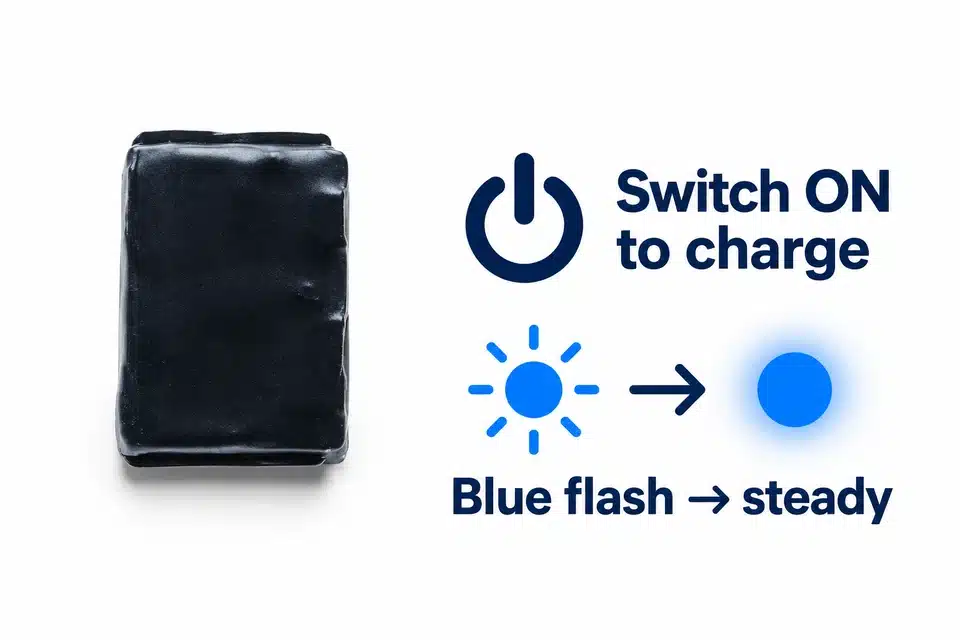
Choose SIM calling or Bluetooth before switching on. This model must be ON while charging; its switch and blue indicators differ from V6 and V7.
Before you start
SIM/Bluetooth induction unit, USB lead and your selected receiver option.
Fit the SIM for SIM mode or remove it for Bluetooth mode. Pair the documented PD-EAR name.
The SIM mode is documented with GSM 850/900/1800/1900 MHz bands; this is not an LTE or VoLTE compatibility claim. T-Mobile announced 3 August 2026 as its scheduled US 2G GSM retirement date. Do not buy this kit for standalone SIM calls in the USA unless CooMax and your operator have confirmed service for the exact hardware version. UK 2G availability also depends on the network and its closure plans. A successful SIM call in a phone does not confirm this transmitter. Bluetooth mode uses a compatible paired phone and its service; it does not make the unit's SIM mode compatible.
1. Check your parts
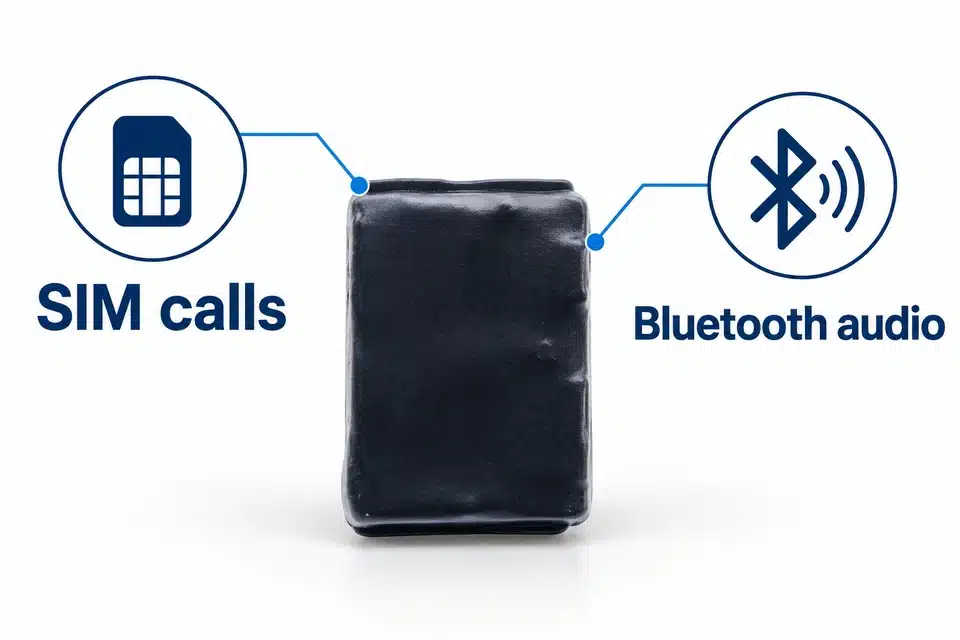
This kit has two alternative modes: its own Nano SIM for calls, or Bluetooth audio from a connected phone. Its built-in microphone is used for telephone conversations. The Nano receivers have no charging connection; power belongs to the induction unit.
- Two passive magnetic Nano earpieces.
- Extraction magnet and extraction rod.
- SIM/Bluetooth induction unit with built-in microphone.
- USB charging cable.
- If your selected order includes a Vip Pro receiver: that receiver and two listed 337/SR416SW cells. These items are conditional, not part of every Nano-only selection.
2. Charge with the switch ON
Check the switch position
This model’s switch is a power cut-off. It must be ON during charging; with it OFF, the unit will not charge. Remove the Nano SIM for the charging check if you have been using SIM mode.Connect the USB cable
Use the kit’s USB charging lead with a charger rated no higher than 5V, 1A. Flashing blue indicates charging; steady blue indicates a full charge. The stated charge time is approximately 1–1.5 hours. The listed operating time is approximately 3 hours and varies with use.
Set the switch to OFF after use. The charging switch and blue indicators here differ from the Nano V6/V7 instructions.
3. SIM calling mode
Confirm network and SIM service
The listed GSM bands are 850/900/1800/1900 MHz. Confirm with your operator that compatible GSM voice service is available at your location. This is not an LTE compatibility claim and does not promise support from all UK or US networks. Test that the Nano SIM makes and receives calls in a phone and has coverage.Prepare the SIM before switching on
The kit requires the SIM PIN to be disabled before use; use your phone’s SIM security settings and network guidance. With the induction unit OFF, fit the Nano SIM in the slot according to its physical orientation. Seat it until it clicks. To release it, press it inward until the retaining mechanism clicks.Switch ON and allow it to register
With the SIM already fitted, slide the switch to ON. Wait at least one minute before calling the kit’s SIM number from another phone. The documented behaviour answers the incoming call automatically after a few seconds. Check both incoming sound and the built-in microphone.
In SIM mode, transmitter-to-receiver distance changes the audio level: nearer increases it and farther reduces it.
4. Bluetooth mode
Remove the Nano SIM
Bluetooth mode requires no Nano SIM in the unit. Switch it OFF before changing the setup.Switch ON and pair
Slide the switch to ON. Enable Bluetooth on your phone and selectPD-EAR. After the initial pairing, the unit can reconnect to that phone when Bluetooth is enabled. It will not be discoverable to other phones while already connected.Check playback and calls
Play an audio file or make a phone call using the connected phone. Control playback and volume on the phone. During a call, select the Bluetooth unit as the call-audio output if the phone has kept audio on its own speaker.
5. Prepare your selected receiver
Nano magnetic receiver
Identify the two small Nano earpieces, the separate extraction magnet and the rod. There is no cell to fit in the Nano earpieces.
Optional Vip Pro receiver
Follow this section only if your selected kit includes a current Vip Pro SuperMini or UltraMini receiver.
Fit the receiver cell
Unscrew the cap with your fingers. Fit the listed 337/SR416SW cell with the positive (+) face upwards; the lettered face identifies this side. Carefully screw the cap back on and check its alignment.Check power on the table
A powered Vip Pro receiver may make a low static sound. Check its cell orientation and cap alignment if the sound is very loud even outside the ear. A weak or discharged cell can also stop the receiver from responding.Remove the cell after use
A fitted cell is consumed even when the transmitter is not being used. Remove it between uses. Do not confuse the receiver’s cell with the rechargeable battery inside the transmitter.
6. Test on a table
Identify the bench arrangement
Use a quiet room. For Nano, put the extraction magnet with the two Nano earpieces and lay them in direct contact with the induction unit. For Vip Pro, put the prepared receiver near the induction unit.Check the start-up sound
Slide the switch to ON. Check for the start-up melody, vibration or quiet sound while the parts remain on the table.Test the chosen mode
SIM: wait at least one minute, then call the fitted SIM’s number and check automatic answering and the microphone. Bluetooth: pair the phone, then play audio and test a call. A response checks the table audio path, not earpiece fit.
7. Position the unit and finish use
Identify the receiver and extraction parts
The extraction magnet and rod are separate from the two small Nano earpieces. The rod accepts the magnet at its base. Keep these parts identifiable; do not mistake the magnet for an earpiece. An optional Vip Pro receiver has a transparent removal thread.If fit or removal is unclear, stop and ask for model-specific guidance. Do not use sound alone to decide that a receiver has left the ear.
Position the transmitter
Position the induction unit between the neck and chest, with its connections supported. Its distance from the receiver affects the audio level.Keep the microphone opening clear of clothing and tape. The induction unit is not washable; keep its electronics and charging connection dry.The built-in microphone must not be covered by skin, clothing or tape. Set the power switch to OFF when finished, and remove an optional Vip Pro cell. The unit is not washable.
Fix a failed check
SIM calls do not connect
Insert the SIM before switch-on. Test its calls, coverage and PIN setting in a phone. Confirm GSM voice service on the listed bands with the operator. Check that the unit was charged with its switch ON. The kit may receive less signal than a phone; test in an area with good coverage and try another compatible SIM if available.PD-EAR is not shown in Bluetooth settings
Remove the Nano SIM, check the switch is ON and charge with the switch ON if needed. Check that another phone is not already connected, then repeat the Bluetooth search.Playback works but calls are silent
During the call, open the phone’s audio output or speaker menu and select the connected Bluetooth unit. Playback routing and call routing can differ. Test another phone if the issue remains.No sound or very quiet sound
Repeat the bench test with a charged unit and the correct SIM/Bluetooth mode. Check the unit’s neck/chest position. In Bluetooth mode also check phone volume and call routing. For Vip Pro, check the receiver cell, its orientation and cap.The built-in microphone does not work
Make sure the microphone opening is not covered by skin or clothing. Check it with a telephone call in the selected mode; in Bluetooth mode also review the phone’s call-audio routing.Only one Nano earpiece seems audible
Check that both small pieces are Nano earpieces and neither is the extraction magnet. Repeat the table test. A difference in worn sound does not prove an earpiece fault or justify deeper insertion; tell support which parts responded on the table.The optional Vip Pro receiver makes a loud buzz
With the receiver outside the ear, check the cell’s positive (+) face, cell charge and cap alignment. If the sound remains excessive, stop use and contact support before adjusting internal components.I cannot remove a receiver
Stop repeated attempts and seek medical help if removal is difficult. Do not decide that it has fallen out just because there is no sound. CooMax can help identify the model and supplied extraction parts; medical care is the appropriate route for an object that cannot be removed safely.The unit stopped after earlier use
It may have been left on or charged with the cut-off switch OFF. For a charging check, remove the Nano SIM and charge with the switch ON until the blue light is steady, then repeat the selected-mode test.Care and safety
Do not push a receiver deeper or put tools or cotton buds into the ear canal. If removal is difficult, stop repeated attempts and get medical help. Severe pain, bleeding or discharge needs urgent care; a battery in the ear needs immediate help.
Mayo Clinic: ear foreign-object guidance · NHS: earwax advice
Keep power parts dry and follow the model-specific storage and charging steps above. If equipment is damaged, stop using it and contact model support.
Get model-specific help
Tell us SIM or Bluetooth mode, the selected receiver, whether charging used the ON switch position, blue-light state and the table-test result.
Choose another model’s instructions