
MODEL INSTRUCTIONS
Vip Pro MegaMini Bluetooth kit instructions
Charge the microphone and the earpiece cell separately. Pair the Bluetooth components, check the audio path and use the phone to control volume.
Before you start
| Control or state | What it does |
|---|---|
| Audio path | Direct Bluetooth. MegaMini does not use an induction neckloop and is not an induction Vip substitute. |
| Receiver and microphone | MegaMini receiver and compact Bluetooth microphone have separate power/charging procedures. |
| Listed range and use time | Range up to 10 metres and receiver use up to 2.5 hours are listed estimates; check actual operation in your location. |
| Listed kit | Bluetooth microphone, MegaMini receiver, one or two LIR640 cells according to the ordered option, and USB charging cable. |
Check the chosen option and your order’s contents before using or replacing parts. Optional bundles are included only when selected.
The microphone pairs as bt01. Check the earpiece and microphone individually; they have separate batteries.
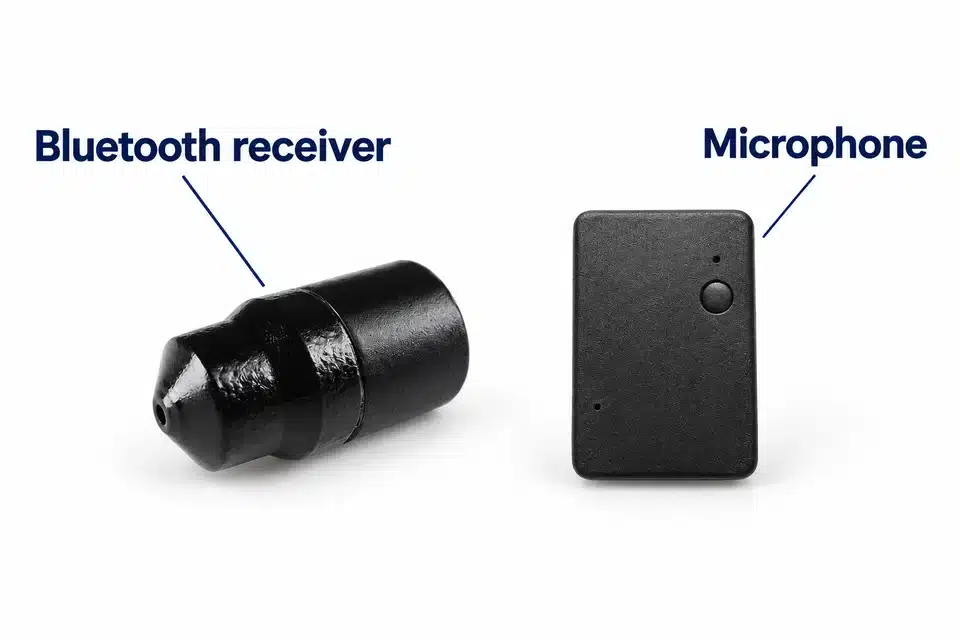
1. Charge the microphone and LIR640 cell separately
- Connect the microphone’s supplied USB-C cable to a computer USB port or a 5 V / 1 A supply. Red means charging; it goes out when complete.
- The microphone switches on when disconnected from charging. Hold its button for 5 seconds to switch it off if you are not about to use it.
- Slide open the charging-case compartment. Fit the LIR640 cell with the positive, marked side up and close it.
- The cell charger’s blue light is on during charging and goes out at completion. Do not substitute a 337 cell.
2. Pair and switch the microphone
- Hold the power button for 5 seconds; blue flashes three times when it switches on.
- Select bt01 in the phone’s Bluetooth settings. If it is absent, check whether the previous button hold switched it off instead.
- Hold for 5 seconds to switch off. With the earpiece cell removed, the phone should no longer show the microphone connected to bt01.
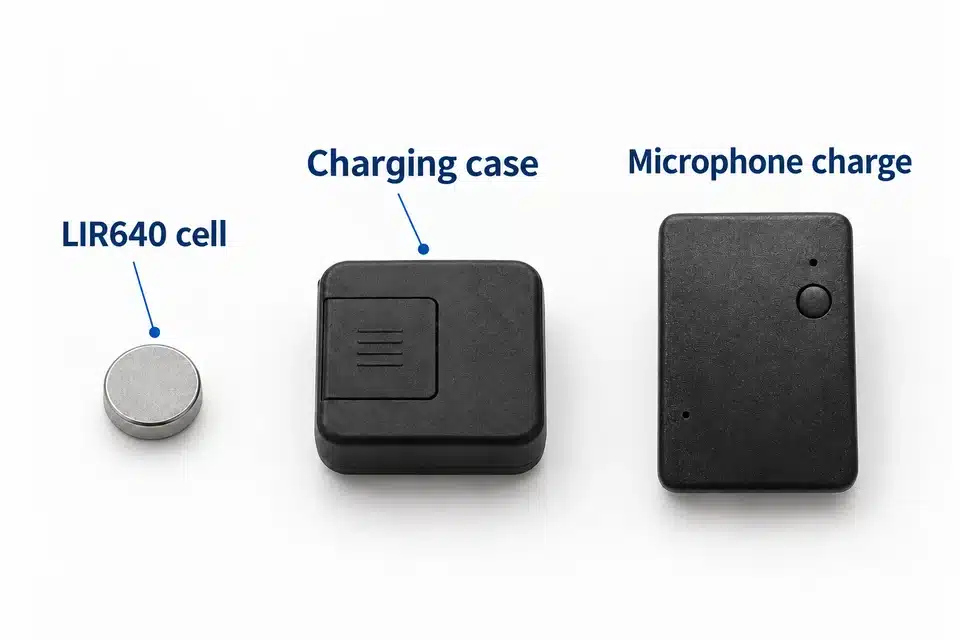
3. Fit the LIR640 cell and inspect the receiver
- Unscrew the receiver’s black cap. Fit LIR640 positive, marked side up and refit the cap straight.
- The cell drains whenever fitted. Remove it between uses.
- Inspect the receiver outside the ear; do not probe the opening with a needle or force the receiver deeper. Keep the retrieval thread accessible.
4. Test the separate Bluetooth components
- Start with low phone volume and check a known track, then a call.
- A phone-to-component range of 7–10 metres is specified; test your actual location rather than treating that as a guaranteed range.
- The earpiece or microphone can be used separately by switching on only the required component.
- Place the microphone more than 10 cm and less than 25 cm from the mouth. Keep the opening clear and adjust receiver volume on the phone.
5. Finish use and keep the cells separate
- End the call or stop playback, then switch off or disconnect the transmitter as described for this model.
- Use an accessible retrieval thread with your fingers only. If removal is difficult, stop repeated attempts and get medical help.
- Once the receiver is safely out, unscrew its cap and remove the cell. Store the receiver and cell separately.
The microphone battery and receiver’s removable LIR640 cell are separate. Charging one does not charge the other.
Fix a failed check
Audio is absent or low
Charge the LIR640 cell and microphone separately. Refit the cell positive-side up with the cap straight, check the phone’s Bluetooth/output and test a track at low volume. A cell left fitted can drain between uses.
Inspect a blocked sound opening outside the ear; do not probe it with a needle. Try another phone if the same check fails. Control volume on the phone.
The microphone is not heard
Restart the microphone, uncover its opening and check its documented 10–25 cm mouth distance. Try a separate call with another phone.
Receiver removal is difficult
Use the accessible retrieval thread with your fingers only. Stop if it is not easy to remove; do not keep trying with tweezers or other tools. Get medical help for a retained object, and immediate help for a battery in the ear.
Care and safety
Do not push a receiver deeper or put tools or cotton buds into the ear canal. If removal is difficult, stop repeated attempts and get medical help. Severe pain, bleeding or discharge needs urgent care; a battery in the ear needs immediate help.
Mayo Clinic: ear foreign-object guidance · NHS: earwax advice
Keep the device, cables and adapters dry. If they get wet, unplug safely and allow them to dry fully; do not use an external heat source such as a hairdryer or microwave.
Stop using damaged equipment. Use the supplied or specified power parts, keep cables/adapters indoors and do not handle connected equipment during a thunderstorm.
Use is discouraged with a pacemaker, hearing aid, other electronic medical device or a hearing condition. Seek suitable professional advice before use in those circumstances.
Follow local rules for use, privacy and disposal. This product is not a toy. Ask CooMax for the documentation and warranty terms that apply to your selected product and country.
Get model-specific help
Tell us which MegaMini component fails, your phone and whether bt01 connects. Include the microphone's power/charging lights, the separate LIR640 cell charging result and first failed playback or call test. For microphone issues, describe its distance from your mouth.
Choose another model’s instructions