
MODEL INSTRUCTIONS
Nano V9 Bluetooth + microSD kit instructions
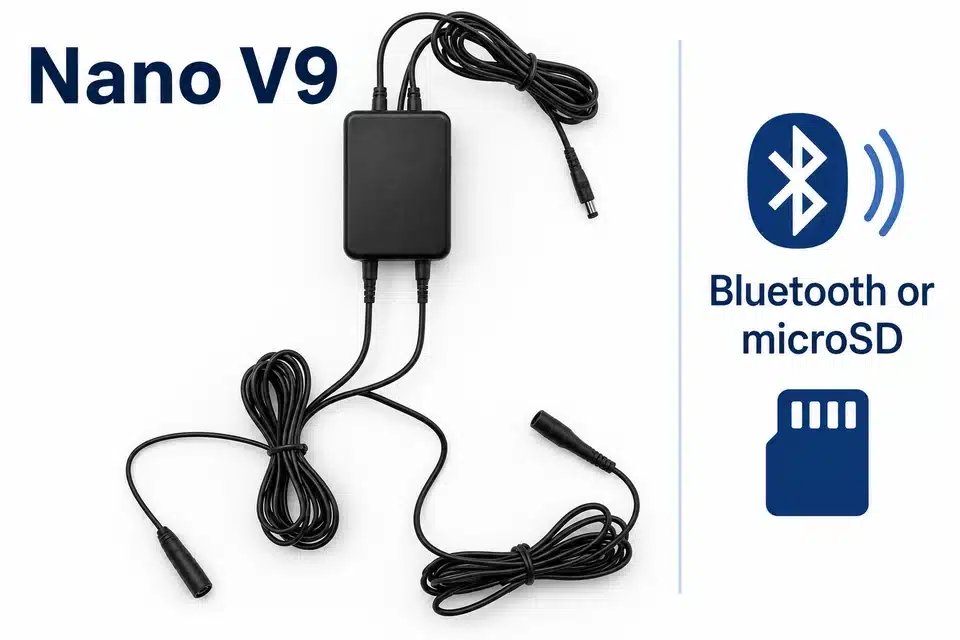
Choose Bluetooth or local microSD playback before starting. Remove the card for Bluetooth mode; prepare a suitable card and files for local recordings.
Before you start
Nano V9 rechargeable unit, wired previous/next controls and your selected receiver option.
Choose one mode. A fitted microSD card changes the Bluetooth setup procedure.
1. Check your parts
Nano V9 combines Bluetooth phone audio and local microSD playback. Its wired microphone is used for Bluetooth calls; it is not used to listen to local microSD files. Removable external buttons control file navigation.
- Two passive magnetic Nano earpieces.
- Extraction magnet and extraction rod.
- Nano V9 induction neckloop with wired microphone.
- Two removable external buttons.
- 8GB microSD card, supplied already fitted in the module.
- USB charging cable.
- If your selected order includes a Vip Pro receiver: that receiver and two listed 337/SR416SW cells. These items are conditional, not part of every Nano-only selection.
2. Charge and switch on
Charge while off
Use the USB charging cable with a charger rated no higher than 5V, 1A. Steady red means charging; steady blue means full. The stated charge time is approximately 1–1.5 hours. The listed operating time is approximately 3 hours; playback volume affects it.Switch on
Hold M for 2 seconds. The unit selects its mode according to whether a microSD card is fitted. A connected phone may display the unit’s battery level in its Bluetooth settings, depending on the phone.
3. Bluetooth mode: remove the microSD first
Release the card
The supplied 8GB card is already in the module. Press it inward to release it. Bluetooth mode requires the card to be removed.Enter pairing mode
Hold M for 2 seconds. Blue appears first; after a few seconds, red and blue flash alternately for pairing.Connect the phone
Enable Bluetooth and select the V9 unit. The instructions name itV11in the setup step andV-11in troubleshooting. Check the matching entry on your unit; if neither appears, use the checks below. Once connected, the lights turn off.Check playback and a call
Play an audio file, then test a phone call. Keep the wired microphone opening clear. A previously paired phone can reconnect when Bluetooth is enabled; the unit is not discoverable to other phones while already connected.
| Control | Function |
|---|---|
| M or microphone button: one click | Answer/end a call, or play/pause audio. |
| M or microphone button: two clicks | Call back the last incoming number. |
| Next (>): short press / hold | Next file / move forward within the file. |
| Previous (<): short press / hold | Previous file / move backward within the file. |
| External buttons | Same previous/next functions when connected to their matching ports. |
| + / − | Increase / decrease the connected phone’s audio level. |
4. microSD mode: prepare the audio files
Prepare a suitable card
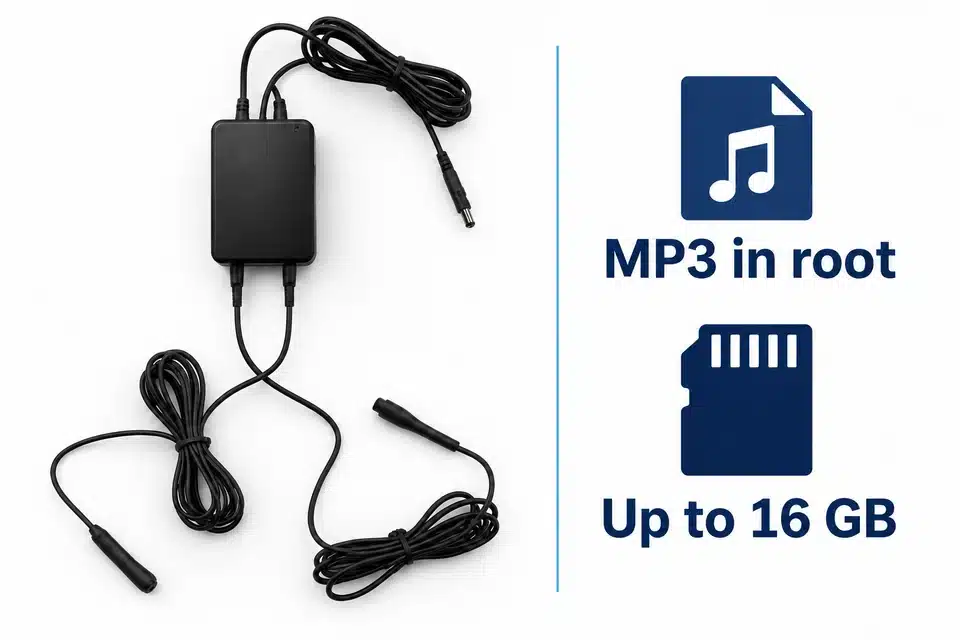
The instructions specify a microSD card up to 16GB. An 8GB card is supplied. Use MP3 files stored in the card’s root, not inside folders; number filenames in the desired order, for example1.mp3,2.mp3,3.mp3.Fit the card and select the mode
Fit it into the matching slot until it clicks. Hold M for 2 seconds to switch on; a blue light appears and the fitted card selects microSD playback automatically. This mode does not need a phone.Attach external buttons if needed
Connect the removable buttons to their corresponding ports. They duplicate the previous/next functions on the module; both control sets can then be used.Resolve incorrect file order
Check MP3 format, numbered filenames and root-level storage first. If order remains wrong or deleted tracks still appear, back up the audio files before formatting the card as FAT32, then copy the files back. Formatting erases the card’s contents.
| Control | Function |
|---|---|
| M or microphone button: one click | Play/pause the audio file. |
| Next (>): short press / hold | Next file / move forward within the file. |
| Previous (<): short press / hold | Previous file / move backward within the file. |
| External buttons | Same previous/next functions when connected to their matching ports. |
| + / − | Increase / decrease playback volume. |
The microphone is not used for local playback, but the button on its lead still performs play/pause. Continuous maximum module volume reduces the running time; use an audible level rather than leaving it at maximum.
5. Prepare your selected receiver
Nano magnetic receiver
Nano earpieces need no receiver cell. Identify them separately from the extraction magnet and rod.
Optional Vip Pro receiver
Follow this section only if your selected kit includes a current Vip Pro SuperMini or UltraMini receiver.
Fit the receiver cell
Unscrew the cap with your fingers. Fit the listed 337/SR416SW cell with the positive (+) face upwards; the lettered face identifies this side. Carefully screw the cap back on and check its alignment.Check power on the table
A powered Vip Pro receiver may make a low static sound. Check its cell orientation and cap alignment if the sound is very loud even outside the ear. A weak or discharged cell can also stop the receiver from responding.Remove the cell after use
A fitted cell is consumed even when the transmitter is not being used. Remove it between uses. Do not confuse the receiver’s cell with the rechargeable battery inside the transmitter.
6. Run the tabletop audio check
Select the audio mode
Bluetooth: remove the card and pair the phone. microSD: fit the prepared card. Put the kit on a table in a quiet room with the induction neckloop operating.Position the test pieces
For Nano, put the extraction magnet together with the two Nano earpieces and lay them in direct contact with the neckloop. For Vip Pro, put the prepared receiver near the neckloop.Play audio and check the response
Play a file using the selected mode. Check playback output and audio level. Look for vibration or listen for quiet sound while the parts remain on the table. If using Bluetooth, also check a call and microphone operation. A successful table check does not establish ear placement.
7. Position the kit and switch off
Identify the receiver and extraction parts
The extraction magnet and rod are separate from the two small Nano earpieces. The rod accepts the magnet at its base. Keep these parts identifiable; do not mistake the magnet for an earpiece. An optional Vip Pro receiver has a transparent removal thread.If fit or removal is unclear, stop and ask for model-specific guidance. Do not use sound alone to decide that a receiver has left the ear.
Position the transmitter
Wear the induction neckloop around the neck. Keep the unit and its leads supported so that the connections are not pulled.Keep the microphone opening clear of clothing and tape. The induction unit is not washable; keep its electronics and charging connection dry.Support the wired microphone and optional external-button leads so that they do not pull on the module. Hold M for 2 seconds to switch off; a red light appears briefly and goes out. Remove any optional Vip Pro cell after use. Clean the loose Nano earpieces, extraction magnet and rod before and after use. The kit instructions list water or isopropyl alcohol for these loose parts only, outside the ear; keep these liquids away from the induction neckloop and its electrical connections.
Fix a failed check
The Bluetooth unit is not discoverable
Remove the microSD, hold M for 2 seconds, and look for alternating red/blue lights. Bring the phone near the module and check that another phone is not already connected. Switch off and repeat pairing if needed; look for V11 or V-11 as described above.Music works but phone calls are silent
While the call is active, select the connected Bluetooth unit in the phone’s speaker/audio-output menu. Music routing does not always change call routing. Test another phone if needed.Files play in the wrong order or deleted tracks still play
Check numbered MP3 filenames and root-level storage. Back up the files, format the card as FAT32 if the problem continues, and copy the audio files back.No sound or very quiet sound
Repeat the selected-mode table test. Check the unit’s charge, playback controls and volume. In Bluetooth mode, check phone volume, silent mode and call routing. Keep the induction neckloop around the neck. For Vip Pro, check its separate cell, orientation and cap.The wired microphone does not work
The microphone is used for Bluetooth calls, not local microSD playback. Keep it uncovered, review call routing and test with another phone if needed.Only one Nano earpiece seems audible
Check that both small pieces are Nano earpieces and neither is the extraction magnet. Repeat the table test. A difference in worn sound does not prove an earpiece fault or justify deeper insertion; tell support which parts responded on the table.The optional Vip Pro receiver makes a loud buzz
With the receiver outside the ear, check the cell’s positive (+) face, cell charge and cap alignment. If the sound remains excessive, stop use and contact support before adjusting internal components.I cannot remove a receiver
Stop repeated attempts and seek medical help if removal is difficult. Do not decide that it has fallen out just because there is no sound. CooMax can help identify the model and supplied extraction parts; medical care is the appropriate route for an object that cannot be removed safely.The module worked earlier and has stopped
Check whether it was left on. Charge while off with the specified 5V, 1A arrangement until the blue light is steady, then repeat the mode and table checks. For storage care, the instructions recommend a charge/discharge cycle at least every three months.The battery lasts less time than expected
Avoid continuous maximum module volume. In Bluetooth mode, check the phone’s output level and reduce the module to an audible level. In microSD mode, also check the source file’s level instead of leaving the module at maximum.Care and safety
Do not push a receiver deeper or put tools or cotton buds into the ear canal. If removal is difficult, stop repeated attempts and get medical help. Severe pain, bleeding or discharge needs urgent care; a battery in the ear needs immediate help.
Mayo Clinic: ear foreign-object guidance · NHS: earwax advice
Keep power parts dry and follow the model-specific storage and charging steps above. If equipment is damaged, stop using it and contact model support.
Get model-specific help
Tell us your selected receiver, Nano V9 charging lights and whether you used Bluetooth or microSD. For Bluetooth, include your phone, the device name shown and call/microphone result; for microSD, include card capacity and MP3 file order/storage. Describe the first failed tabletop check and the optional Vip Pro cell check where applicable.
Choose another model’s instructions